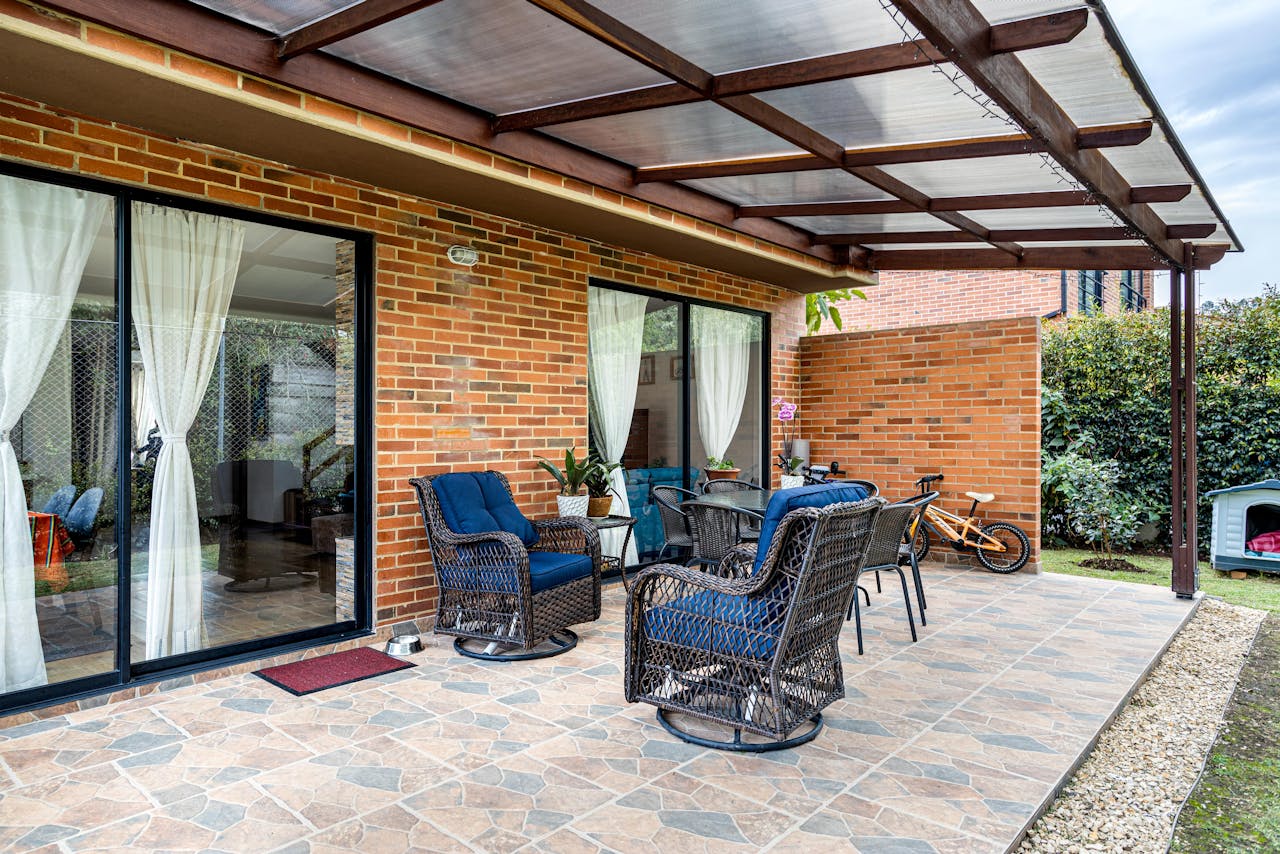
Outdoor tile is a different animal than indoor tile. The same tile that performs beautifully in your kitchen can crack, pop off, or become a slip hazard on your patio. Sun, rain, frost, and temperature swings punish every material choice and installation shortcut.
If you're considering tile for a patio, pool deck, walkway, or outdoor kitchen, here's what you need to know before you buy a single tile.
Porcelain vs. Natural Stone
These are your two main categories for exterior tile, and each has distinct strengths.
Porcelain
Porcelain tile is the workhorse of outdoor installations. It's fired at extremely high temperatures, which makes it dense, hard, and nearly impervious to water. That last point is critical outdoors.
The key spec is water absorption rate. For outdoor use, you want porcelain rated as "impervious" — meaning less than 0.5% water absorption. Most quality porcelain falls between 0.1% and 0.3%. This matters because tile that absorbs water can crack when that water freezes and expands.
Porcelain advantages:
- Extremely low water absorption (freeze-thaw safe)
- Consistent color and sizing
- Wide range of looks — wood, stone, concrete mimics
- Lower maintenance than natural stone
- Generally more affordable per square foot
The main downside: porcelain is very hard, which makes cutting slower and more demanding on your tools. Budget for diamond blades and expect them to wear faster on dense porcelain.
Natural Stone
Slate, granite, travertine, limestone, and bluestone are all used outdoors. Natural stone brings a warmth and character that manufactured tile can't fully replicate.
But not all stone is suitable for exterior use:
- Granite and slate handle outdoor conditions well — they're dense, low-absorption, and durable.
- Travertine is popular for pool decks because it stays cool underfoot, but it's porous and needs regular sealing. In freeze-thaw climates, it's risky.
- Limestone and sandstone are softer and more porous. They work in mild climates but deteriorate in areas with hard freezes.
- Marble is generally a poor outdoor choice — it's slippery when wet, stains easily, and doesn't handle weather well.
Natural stone requires sealing upon installation and periodic resealing. Factor this into your long-term maintenance plan.
Frost Resistance and Freeze-Thaw Ratings
If you live anywhere that sees freezing temperatures, this is non-negotiable. Water gets into tile, grout, and setting materials. When it freezes, it expands. Repeated freeze-thaw cycles destroy tiles and pop them off the substrate.
Look for these indicators:
- Water absorption below 0.5% (impervious rating per ASTM C373)
- ASTM C1026 freeze-thaw testing — manufacturers who've tested their tile for freeze-thaw will say so. If they don't mention it, assume the worst.
- Through-body porcelain — if the tile chips, the color goes all the way through, and the chip is less visible. More importantly, through-body porcelain tends to be the densest and most frost-resistant.
Even with frost-resistant tile, your grout and setting materials matter. Use polymer-modified grout and thinset rated for exterior use. Standard grout absorbs water readily and is the first thing to fail in freeze-thaw conditions.
Drainage and Slope
Outdoor tile installations must shed water. Standing water leads to staining, algae growth, efflorescence, freeze damage, and eventual failure.
The standard slope for outdoor tile is 1/4 inch per foot (2% grade) away from structures. This needs to be built into the substrate — you cannot reliably create slope with varying thinset thickness.
For concrete slab patios, the slab itself should be poured with the correct slope. If you're tiling over an existing flat slab, you have a few options:
- Self-leveling compound designed for slope building (some products are designed for this)
- A mortar bed built to slope
- Accepting that water will pool and planning accordingly (not recommended)
Drainage also means your grout joints need to handle water flow. Wider joints (3/16" to 1/4") are common outdoors, giving water more paths to drain and allowing for greater thermal movement.
Slip Ratings
Outdoor tile gets wet. Wet tile can be dangerously slippery. This isn't optional — it's a safety and liability issue.
Look for these ratings:
- DCOF (Dynamic Coefficient of Friction) — the current US standard. A DCOF of 0.42 or higher is recommended for wet areas by the TCNA. For outdoor use, aim higher — 0.50 or above.
- R-rating (German DIN 51130) — you'll see R9 through R13. For outdoor patios, R11 or R12 is appropriate. Pool decks should be R12 or R13.
Textured, matte-finish tiles perform better than smooth, polished tiles outdoors. Some manufacturers produce tiles with specific anti-slip textures designed for exterior or pool-deck applications.
Expansion Joints
This is where outdoor tile jobs fail most often. Temperature changes cause concrete, tile, and mortar to expand and contract at different rates. Without expansion joints, something gives — usually the tile pops off or the grout cracks.
Rules for expansion joints:
- Perimeter joints: Leave a gap around every edge where tile meets a wall, column, step, or any fixed structure. Fill with a flexible, weather-rated silicone or polyurethane sealant — never grout.
- Field joints: In the open field of tile, install expansion joints every 8-12 feet in each direction. The Tile Council of North America (TCNA) recommends every 8 feet for exterior installations exposed to direct sunlight.
- Transition joints: Where tile meets a different material (concrete, wood, stone), always use a flexible joint.
- Control joint alignment: If your concrete substrate has control joints or saw cuts, your tile installation must have expansion joints directly above them. Without exception.
Use a backer rod and flexible sealant in expansion joints. The sealant needs to be rated for outdoor use and UV exposure. Standard silicone caulk yellows and deteriorates in sunlight.
Mortar and Setting Materials for Exterior
Indoor thinset won't cut it outside. You need setting materials designed for the punishment of exterior exposure.
Thinset mortar: Use a polymer-modified (or "modified" / "flex") thinset rated for exterior use. Look for products that specifically state "exterior" or "freeze-thaw rated" on the bag. The polymer modification provides the flexibility needed to handle thermal movement without cracking.
Grout: Polymer-modified sanded grout for joints 1/8" and larger (which covers most outdoor applications). Some installers prefer epoxy grout outdoors for its superior water resistance, though it's more expensive and harder to work with.
Coverage: Full mortar coverage on the back of each tile is critical outdoors — aim for 95% or better. Any voids under the tile become pockets where water collects and freezes. Back-butter the tile and use a notched trowel on the substrate for full coverage.
For more on grout joint sizing and material selection, our grout spacing guide covers the fundamentals.
Planning Your Outdoor Layout
Outdoor installations benefit enormously from careful layout planning. You're dealing with fixed edges (house walls, pool coping, step nosings) and visible sight lines from windows and doors. Small slivers of cut tile along a prominent edge will bother you every time you look outside.
Planning your tile layout before you start — including where cuts fall and how much waste to expect — prevents expensive mid-job adjustments. Tools like TilePlan let you visualize the actual tile placement and make adjustments before anything is set in mortar.
Frequently Asked Questions
Can I use indoor tile outside?
Generally, no. Indoor-rated ceramic tile typically has a water absorption rate above 0.5%, which means it'll absorb water and fail in freeze-thaw conditions. Even in mild climates, the UV exposure and temperature swings are harder on tile than indoor conditions. Always use tile specifically rated for exterior use.
How thick should outdoor tile be?
For patio and walkway applications, 3/8" to 1/2" thick porcelain is standard. Thicker pavers (3/4" to 1") are available for pedestal or sand-set installations where tiles aren't bonded with mortar. Thicker tiles are more resistant to cracking under point loads (furniture legs, foot traffic on unsupported spans).
Do I need to seal outdoor porcelain tile?
Most porcelain tile does not need sealing because its water absorption is already near zero. However, if you're using natural stone outdoors, sealing is essential — both at installation and periodically (every 1-3 years depending on the stone and exposure). Some unglazed porcelain tiles with textured surfaces can benefit from sealing to prevent staining.
What about porcelain pavers vs. regular porcelain tile?
Porcelain pavers are thicker (typically 3/4" or 20mm), designed specifically for outdoor use. They can be mortar-set like regular tile, dry-laid over compacted gravel on pedestals, or set in sand. They're more forgiving of substrate imperfections and easier to replace individually. Standard porcelain tile is thinner and must be mortar-set to a prepared substrate.
How long does an outdoor tile installation last?
A properly installed outdoor porcelain tile patio — correct substrate, drainage, expansion joints, exterior-rated materials — should last 20-30 years or more. The most common failure points are grout deterioration (5-10 years before regrouting) and sealant in expansion joints (reapply every 5-7 years). Natural stone installations last similarly but require more ongoing sealing maintenance.
Plan Your Tile Layout with TilePlan
Calculate materials, visualize patterns, and get accurate cut lists for any room shape.
Download Free on the App Store