A kitchen backsplash is one of the most visible tile installations in your home. It's also one of the trickiest to estimate — the dimensions are awkward, there are outlets and windows to work around, and pattern choice has a big impact on how many cuts you'll make.
Planning it digitally before you buy saves time, money, and frustration.
Step 1: Measure Your Backsplash Area
Measure the width and height of each section of your backsplash. A typical backsplash runs between the countertop and upper cabinets — usually about 18" tall and the full width of your counter.
If your backsplash has an L-shape (wrapping around a corner) or cutouts for windows, you'll want a tool that handles non-rectangular shapes.
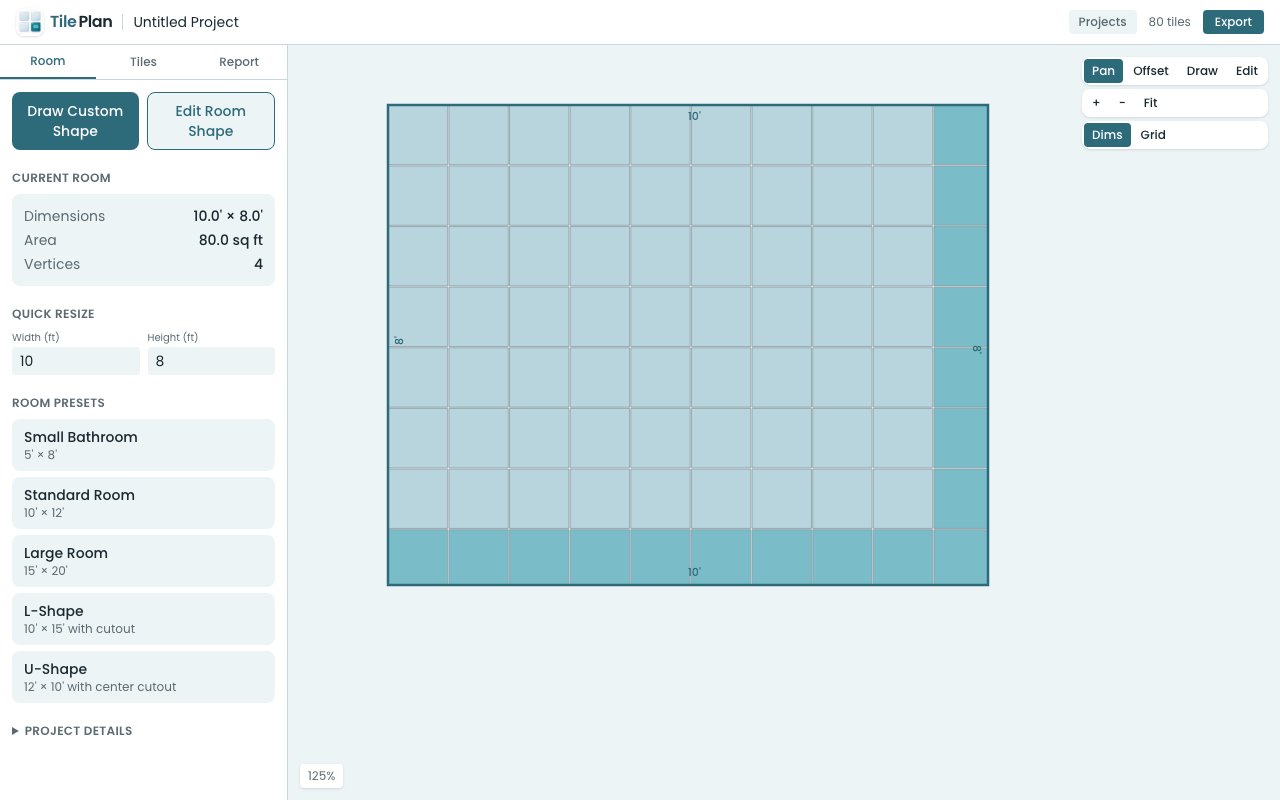
Step 2: Enter Your Dimensions
In TilePlan's web app, you can:
- Use a rectangle for simple backsplash sections — just enter width and height in feet or inches
- Draw a custom shape for L-shaped backsplashes or areas with cutouts — click to place vertices and create any polygon
The app converts your measurements into an accurate floor plan.
Step 3: Choose Your Tile and Pattern
This is where the fun starts. Common backsplash tiles include:
- 3×6" subway tile — the classic choice. Try it in straight stack, running bond (brick pattern), or herringbone for very different looks
- 4×12" or 4×16" rectangles — modern and clean in a straight or 1/3 offset pattern
- Hexagonal tile — trendy and geometric, works beautifully as a backsplash accent
Select your tile shape and size from the presets, then pick a laying pattern. The layout updates in real time so you can compare options instantly.
Step 4: Adjust and Optimize
Use the offset control to shift where the tile pattern starts. This lets you:
- Center the pattern on a focal point (like above your stove)
- Balance the cut tiles on each edge so no side has tiny slivers
- Align grout lines with features like outlets or window edges
Small adjustments here can make a big difference in how professional the final result looks.
Step 5: Check Your Material Count
The materials report shows you:
- Full tiles — tiles that don't need cutting
- Cut tiles — tiles that need to be trimmed at edges
- Recommended purchase quantity — including your chosen waste factor (10-15% is typical for backsplashes)
- Cost estimate — enter your tile price per piece, per box, or per square foot
Step 6: Export and Shop
Download your plan as a PDF to bring to the tile store, or export the cut list as a CSV if you want to organize your cuts in advance.
Why Plan Digitally?
Backsplash tile is often sold by the square foot or by the box. Without a layout plan, most people either overbuy significantly or — worse — run short mid-project. A layout planner shows you exactly what you need and where every cut falls.
Try it free at app.tileplan.app.
Plan Your Tile Layout with TilePlan
Calculate materials, visualize patterns, and get accurate cut lists for any room shape.
Download Free on the App Store